
Goodbye winter, hello spring! Celebrate the start of a colorful new season with these fabulous spring crafts, recipes, and activities from our award-winning kids’ magazines. Pro tip: they’re also great opportunities to teach kids about parts of a flower, animal life cycles, and your local flora and fauna!
Fun With Flowers
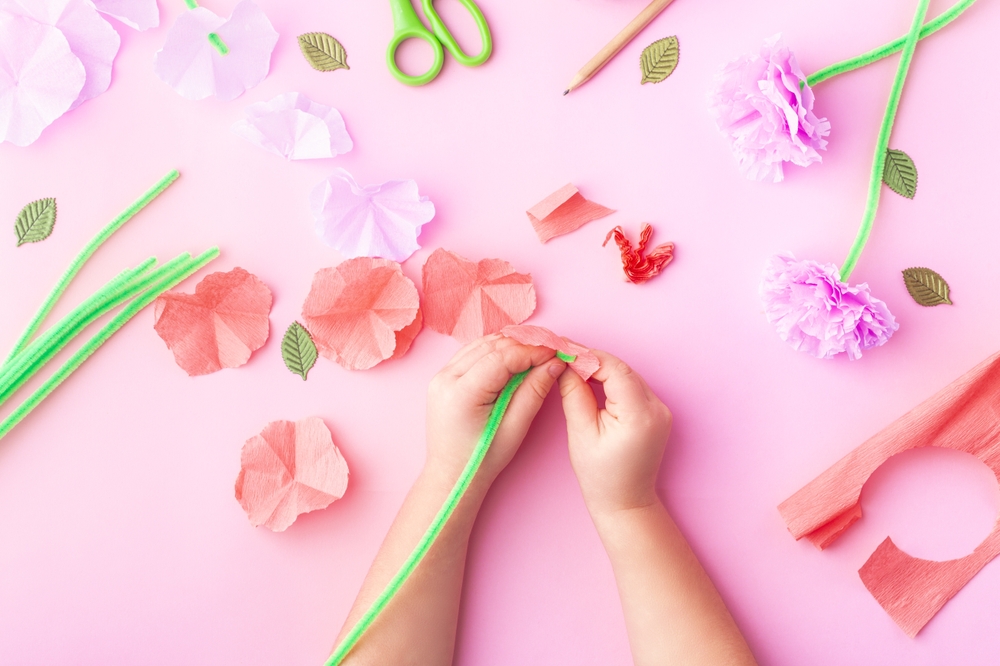
The first flowers of the year are beginning to emerge! It’s the perfect time for you and the kids to create your own beautiful floral-inspired spring crafts!
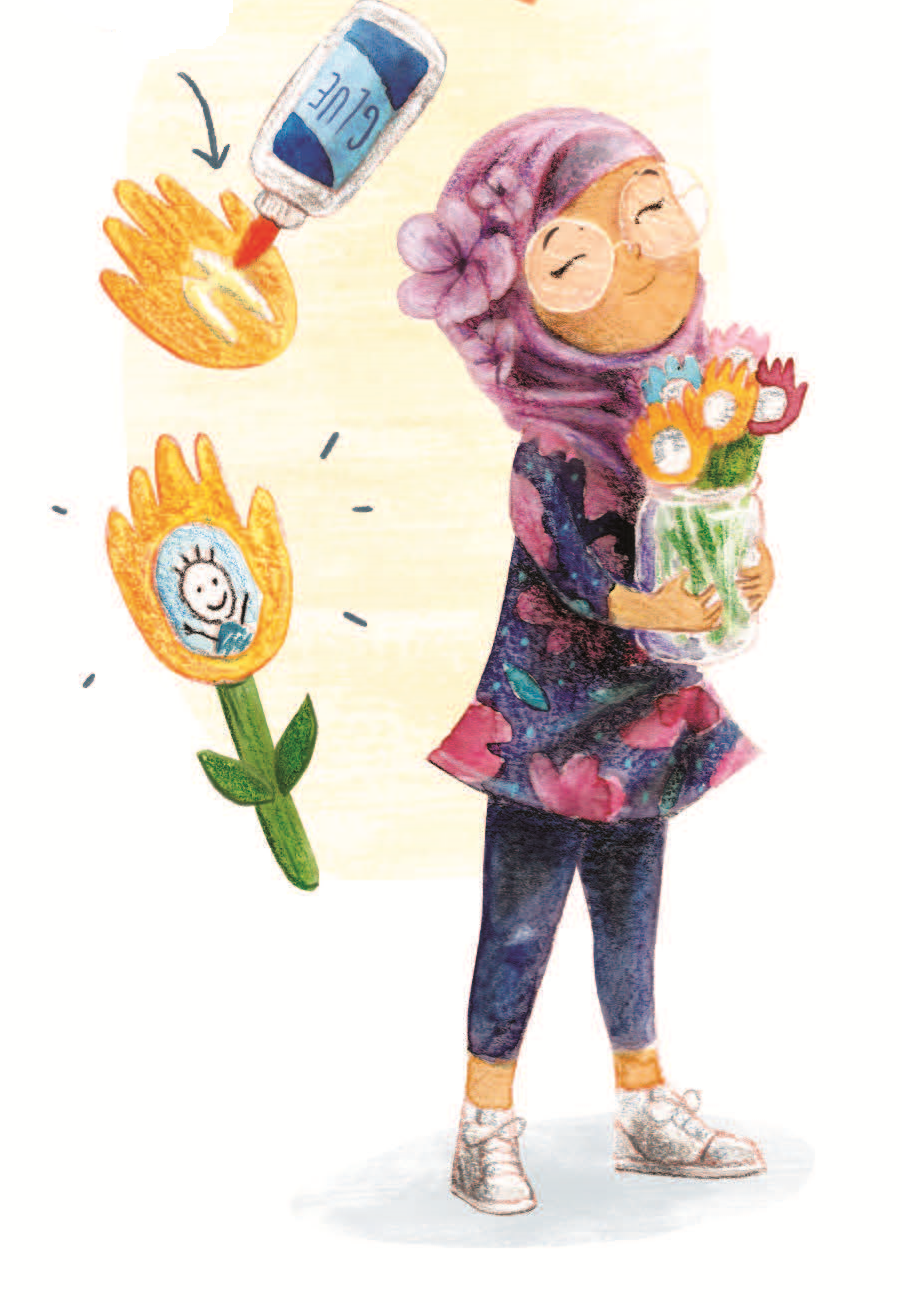
A Flower Family (LADYBUG Magazine, Ages 3-6)
Make a stunning bouquet of popsicle-stick flowers, each featuring a picture of a friend or family member! These are a wonderful Mother’s Day gift with a personal touch from your kiddo.
What you’ll need:
- Craft sticks
- Green paint
- Paintbrush
- Pencil
- Colorful construction paper
- Scissors
- Glue
- Photos or small drawings of your loved ones
What to do:
- With a grown-up, paint a craft stick green. This will be your flower stem.
- While the craft stick dries, trace your hand on a piece of construction paper. Cut out your handprint. This will be your flower.
- Trim a photo or drawing to fit your flower, and glue it on the flower. Let the glue dry.
- Glue the flower to the stem.
- If you would like, you can cut out paper leaves and glue them to the stem, too.
- You can make as many flowers as you would like. When you are finished, share this beautiful bouquet of flowers with somebody who is special to you!
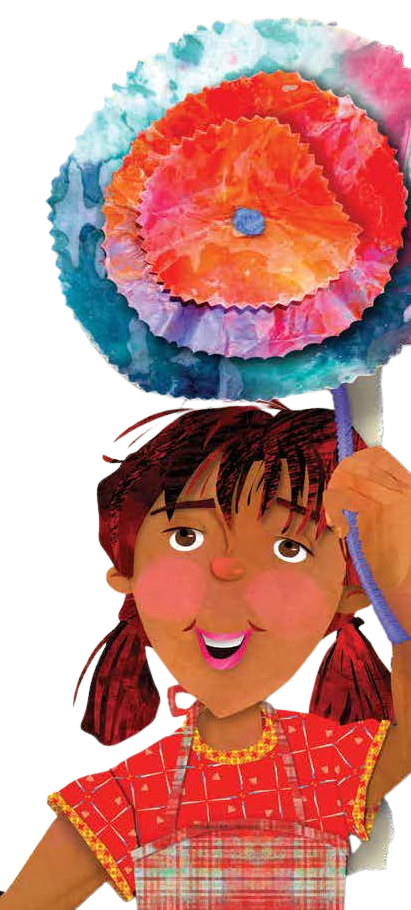
Make Your Own Glass Flower (SPIDER Magazine, Ages 6-9)
A slightly more sophisticated take on the “faux flower gifts from kids” concept, these “glass” flowers made of wax paper are a wonderful addition to a mantelpiece or desk for parents or teachers. And they’re fun to make, too!
What you’ll need:
- Several sheets of wax paper
- Scissors
- Crayon shavings
- Iron
- Small bowl
- Pipe cleaner
What to do:
- Cut sheets of wax paper into two large, two medium, and two small circles.
- Place some of the crayon shavings between a set of the cutouts. With an adult’s help, run a warm iron over the papers until the shavings melt.
- While still warm, tuck the circle into a small bowl, so the paper curves. Do this for each set of circles to form the petals.
- When all are hard and cool, poke a tiny hole through the center of each circle.
- Gently thread one pipe cleaner through the large, then medium, and then small circles, so they rest on each other. Squeeze the top of the pipe cleaner into a ball to form the flower’s center. Let the rest of the pipe cleaner hang as a stem.

Sample the Spring Season
Spring is a season of new life! These fun and easy recipes will get kids in the spring spirit! Craft a quesadilla that looks like a hatching chick or make avocado toast with a smiling froggy face. You might even inspire your kids to try foods they’re normally hesitant about.
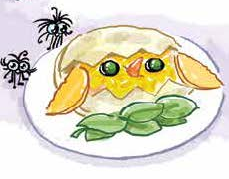
Cheesy Chicky Quesadilla (SPIDER Magazine, Ages 3-6)
What is better than a yummy meal? A funny and yummy meal! Make a quesadilla that looks like a chicken hatching from an egg!
What you’ll need:
- 1 large plate (microwave safe)
- 2 black olives
- 1 round slice of orange cheese (dairy or vegan)
- 2 handsfuls of shredded orange cheese (dairy or vegan)
- 2 tortillas
- 1 pointy end of a carrot (cut by grownup)
- 1 handful of spinach (washed)
What to do:
- Put one tortilla on the plate. Cover it with shredded cheese.
- Carefully rip the side of the second tortilla in a zigzag to make it look like a broken eggshell. Rip the other end of the torn tortilla too. Set aside the middle piece for a future snack.
- Lay the two ripped pieces on opposite sides of the cheese-covered tortilla, lining up the round edges.
- Place the olive slices in the cheese to make eyes. Add the peas to the holes in the olives. Below the eyes, center the carrot with the point facing out to make a beak.
- Have a grown-up help microwave the plate for 40 seconds or until the cheese is melted. Let cool a little bit.
- Fold the round cheese slice in half to break it into two pieces. With the curved sides facing down, place the pieces on each side of your chick’s cheesy body to make wings.
- Make a nest of spinach at the bottom of your egg.
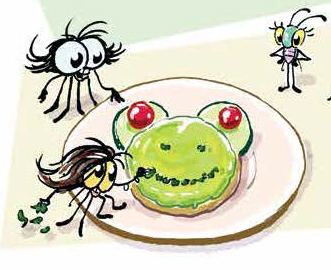
Avoca-Toad Toast (SPIDER Magazine, Ages 6-9)
Eating green veggies has never been more fun and appealing! Ophelia’s favorite avoca-toad toast transforms a simple open-faced sandwich into an artistic creation!
What you’ll need:
- 1 side of a sliced English muffin
- 1 avocado
- 1 lime
- Sea salt
- Garlic powder
- Grated Parmesan cheese (dairy or vegan)
- 1 cucumber
- 2 small cherry tomatoes
- A few cilantro leaves (or parsley)
- Toaster
- Bowl and plate
- Spoon and fork
- Kitchen knife* and cutting board *(for adult use only)
What to do:
- Ask a grownup to toast your English muffin.
- Have the grownup cut the lime and the avocado in half. Remove the avocado pit. With a spoon, scoop the avocado flesh into a bowl. Squeeze in a little lime. Add a dash of sea salt and garlic powder. Shake on some Parmesan. Mix and mash with a fork.
- Cover the warm English muffin with your green goop.
- Have the grownup cut a single round slice from the cucumber and then cut that slice in half. Stick the straight sides of the two pieces to the top of the English muffin. Stick a cherry tomato to each, using a glob of goop.
- Rip the cilantro into tiny pieces. Use them to make nostrils and a big smile on your amphibian friend’s face.

Explore Your Own Backyard
What better way to embrace the beauty of the season than spring crafts and snacks? Experiencing nature firsthand! Explore nature in your own backyard, neighborhood, or local park and keep track of your special discoveries!
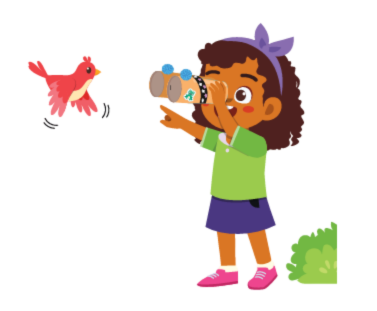
Earth Explorer (LADYBUG Magazine, Ages 3-6)
Okay, these binoculars may not actually work, but they’ll help you feel like a real explorer! And they will give you a special lens to focus on the little details around you. This is our favorite spring craft for a beautiful day– take them on a walk around your neighborhood to look for birds!
What you’ll need:
- 2 empty toilet paper rolls (or a paper towel roll cut in half)
- Washable paint or colored paper
- Paintbrush or glue
- Scissors
- Stapler or strong tape
- Decorations
What to do:
- With a grown-up, paint the two paper tubes or glue colorful paper around them. Let the paint or glue dry.
- Ask a grown-up to staple or tape the tubes together.
- Decorate your binoculars. We like to use stickers, markers, small pom-poms, and colored tape. Let any paint or glue dry.
My Nature Notebook
Document your amazing nature discoveries with a free printable nature notebook! Keep track of birds, plants, and everything else you see this spring! Just answer a few quick questions to download your fabulous nature notebook.
Did you and your family try any of these spring crafts and activities? We’d love to hear about it! Send us your photos and videos to support@cricketmedia.com. And get more of our fun seasonal activities, crafts, and tips for parents with our free CHIRP Newsletter! Happy crafting!