
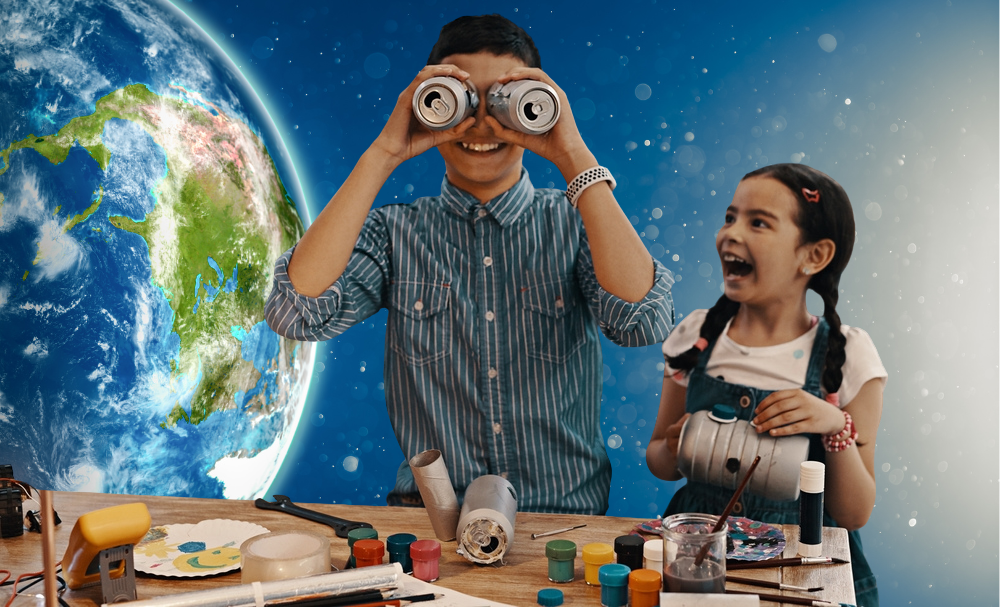
Believe it or not, Americans throw away enough trash to fill 63,000 garbage trucks every single day. That’s a lot of garbage! This Earth Day, challenge your kiddos to repurpose household “trash” to create something cute, fun, or useful! You might be surprised to see what they can make. Here are a few craft ideas from our award-winning kids’ magazines.
Piggy Bottle Bank
Turn an old soda bottle or jug into an adorable piggy bank for your spare change!
What you’ll need:
- Clean, wide plastic bottle with lid
- Construction paper or felt
- Scissors
- Black marker
- Box cutter
- Tape or glue
- Pipe cleaner
- Pom-poms or modeling clay
What to do:
- Trace the bottle cap nose and draw two oval ears on a piece of construction paper or felt and cut out the shapes. Then cut a piece of construction paper as wide as the bottle is tall.
- Tape or glue construction paper or felt to the piggy body, head, and nose. With the black marker, draw eyes and nostrils.
- To make feet, glue pom-poms to the underside of the bottle. Or make feet by rolling 4 small balls of modeling clay to stick to the underside of the piggy.
- With an adult’s help, cut a 2-inch coin slot in the bottle and a small hole in the back for the tail.
- Curl the pipe cleaner around your marker to make it curl and then insert into the small tail hole. Drop in a coin or two and start saving for your future pet!
Tin Can Robot Buddy
It’s no surprise that you can turn an old tin can into a pencil or marker holder– but what about one with a cute robot face?
What you’ll need:
- Clean, empty tin can with no sharp edges
- Hot glue gun
- Googly eyes
- Small, strong magnets
- Bottle caps with no sharp edges
- Felt
- Washers, nuts, bolts, pull tabs, or other metal bits that are not sharp or rusty
What to do:
- Ask an adult to glue a googly eye to the inside of a bottle cap and then to glue a magnet to the back of that cap. Repeat to make two—or more—eyes.
- Have the adult glue magnets to metal bits and small pieces of felt to make other parts of your robot’s face. You might use a nut and bolt for a nose, pull tabs for ears, and felt for a mouth. Let the glue cool.
- Take the label off of the can. Stick the magnets on the can in the shape of a face. Have fun rearranging them to make different silly faces. Store extra parts inside the can, or use your robot pal to hold pencils and markers.
“Toothy Trap” Cereal Box Game
An old cereal box becomes a hungry, big-toothed beast in this delightful DIY game. Try it with your friends!
What you’ll need:
- Cereal box
- Googly eyes and pipe cleaners (optional)
- Paints and paintbrush
- Construction paper
- Markers
- Tape
- Marbles
- Scissors
- Newspaper
What to do:
- Cut a row of teeth in one side of the box. Make sure there is enough space between each tooth for a marble to fit through.
- Cover the table with newspaper. Place the box—teeth down—on the newspaper. Decorate the box to look like a big-toothed creature (real or imaginary). Let any paint or glue dry.
- Recycle the newspaper. Place your creature at the end of the table or on the floor. Put a line of tape a few feet across from it.
- From behind the tape line, roll the marbles into the creature’s mouth as fast as you can. If a marble doesn’t go in or bounces out, grab it and try again.
- Keep going until the creature has devoured all the marbles. Use a timer or count aloud to try to beat your record for shortest time. Play alone or work together with friends.
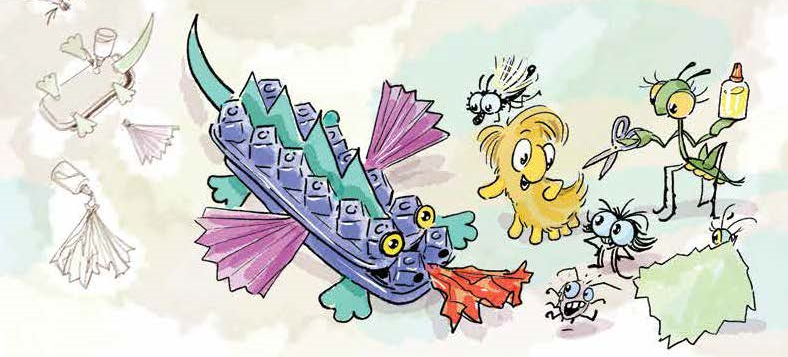
Dazzling Egg Carton Dragon
Decorate your desk with this adorable dragon made of a recycled egg carton!
What you’ll need:
- 2 cardboard egg cartons
- Construction paper
- Red tissue paper
- Paint and paintbrush
- Pencil and markers
- Scissors
- Glue and tape
What to do:
- Have a grownup help cut one egg carton along its two bending parts. Recycle the top and the tab. Keep the bumpy bottom.
- Turn the second egg carton upside down. Put glue on every bump, except for the first two. Lay the cut-off piece on top, stacking its first bumps onto the lower egg carton’s second bumps. Paint your dragon’s body.
- Draw legs, a tail, eyes, and spikes on construction paper. Cut them out. For wings, make accordion folds. Fold the fan in half. Cut in the middle.
- Once the paint is dry, flip over your dragon’s body. Glue on the legs. Tape on the tail. Flip it back over. Draw nostrils on the first bumps. Glue eyes to the second bumps. Glue spikes down the middle. Add glue to each wing’s end. Stick a wing on each side in between the two cartons.
- Pinch the center of the tissue paper, and scrunch it up. Put glue on the pinched part. Stick the flame in the dragon’s mouth. Let your fire-breathing dragon rest before going on daring quests.
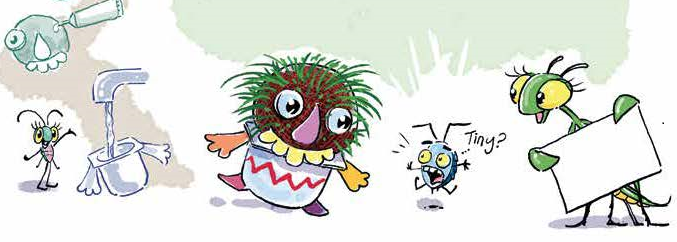
Tiny the Troll Planter
Do you have old yogurt containers lying around? Turn them into a sweet little troll that sprouts grassy “hair!” Sit him on your windowsill so he can enjoy the sunlight.
What you’ll need:
- Grass seed
- Spoon
- Googly eyes
- Waterproof glue
- Tape
- Small yogurt container
- Paper and cardboard
- Old pair of tights or pantyhose
- Potting soil
What to do:
- Cut one foot off the tights. Put a spoonful of grass seed inside. Spoon in potting soil, gently pressing and shaping into a round shape. When the head is as big as you want, tie a knot in the nylon as close to the soil as possible.
- Make the troll’s body. Cut arms, feet, fur, scales, or more out of paper and cardboard and tape to the yogurt container. Try using materials from the recycling bin.
- With a grownup’s help, glue googly eyes onto the head. Cut a nose, mouth, or teeth out of cardboard and glue on.
- When glue is dry, fill yogurt container with water and place head on top. Water will travel up through the soil to the grass seeds. Set in a sunny spot and add more water as needed. Tiny the Troll should start sprouting “hair” in about a week!
Did you try any of these reused or recycled crafts at home? We’d love to see them! For a steady supply of creative craft ideas, check our children’s magazines! Or subscribe to our free Chirp newsletter to get crafts in your inbox each month!